
Years back, I wanted a piano so desperately it hurt. While I’m no concert pianist, playing the piano felt like a part of me that was missing. Thankfully, I was able to convey these heartfelt yearnings to my husband, who finally agreed that we could get one. I was elated! If I’m remembering right, I found one for free! I wanted to paint it, but I was so worried I’d ruin it, that I hired a professional to paint it for me. Watching the painting process was really eye opening. It was my first introduction to the world of chalk paint, and my color of choice was light blue. Dug these photos up…I couldn’t get enough blue back then!


Fast forward several years and we were moving. I wasn’t sure a blue piano suited our new living room, so I had it hauled upstairs to the great room. Then, one day on a whim, my mom and I decided to spend one of our project days painting it black because the chalk paint was chipping in places, and the color blue was still feeling out of place, even upstairs. Below is the best picture I could find!
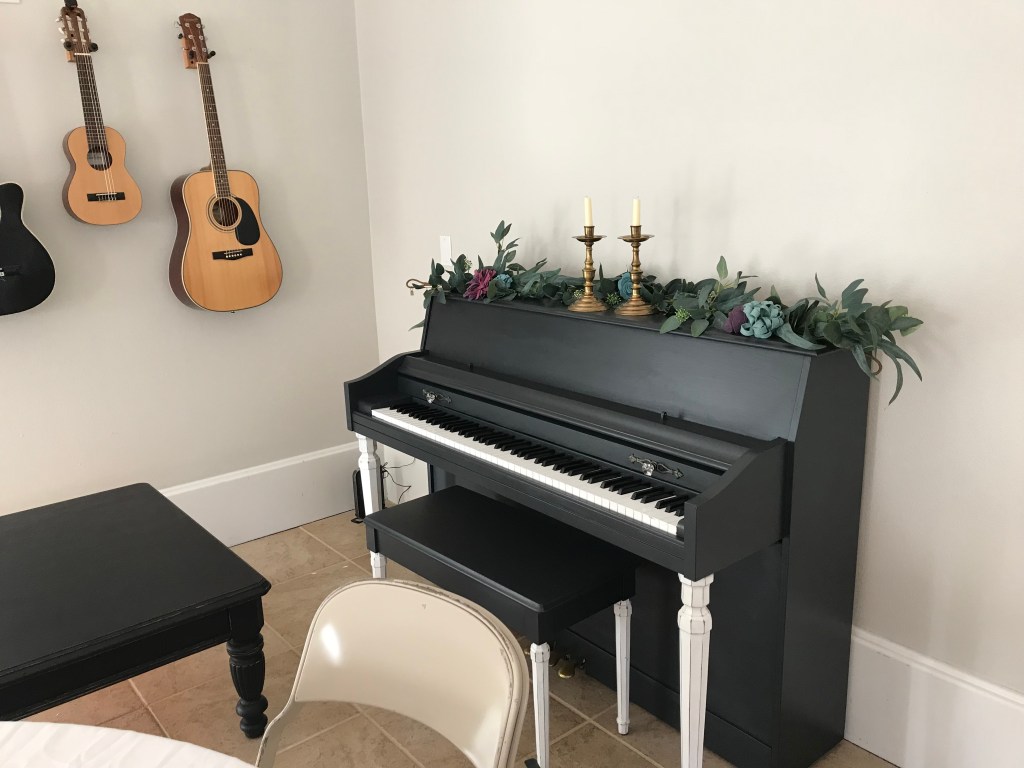
By this point, I’d painted all types of furniture, so I wasn’t nearly as worried about painting a piano, although the tiny nooks and crevices around the keys had me slightly intimidated. I shouldn’t have been! And that’s what today’s post is about: how painting a piano is a doable project!
This topic is fresh on my mind because I recently visited my sister in Spokane who had just convinced her husband to get a piano. (I’m noticing a trend with men and pianos…all that heavy lifting!) My sister has been wanting a black piano for years, and so my mom and I helped her paint her newly acquired vintage 1930s piano that was given to them. We just worked on it a little everyday after the kids were in bed for about three nights, and it turned out gorgeous!

Here’s what we did:
- If possible, it’s always a good idea to rough the surface up with sandpaper. We just sanded it by hand and tried to protect the piano from getting dust inside of it by covering the keys and any openings in the piano.
- We wiped down the dust with a wet rag and then wiped it down again with liquid deglosser for good measure.
- We taped off the pedals and the keys.
- We wiped the piano down with tack cloth to get any lurking dust.
- We used Benjamin Moore’s Advance paint to put on a first coat, and it went on like silk!
- The next night, we put on another coat. For Advance paint, you’re technically supposed to wait 24 hours and lightly sand between coats, but we didn’t wait a full 24 hours nor did we sand. #rebels
- On the third night, we put on our third and final coat. We taped off the keys and when I was painting around the keys, I pressed down on the keys so that I could get into the crevices. You will probably have to take a very small paintbrush and touch up any spots you’ve missed after you pull off the tape.


And that’s it! No need to fear; pianos can be painted, and you can be the one to do it!

Leave a comment