Plus How to Paint a Checkered Pattern on Ugly Tile Floors!
I finished my little powder bathroom makeover months ago, and to be honest with you, as much as I love how it turned out, the difficulty I had in taking photos of the transformation landed me in an award-winning funk. The terrible lighting and impossibly tight quarters in this itty-bitty bathroom have not been my friends.
But today. Today is the day I push my foes aside and share it all with you anyway because I’m bone tired of letting perfectionism and uncertainty (I’m talking to you, crazy world we’re living in) cripple me. On the bright side, I have more perspective on this project now than when I finished it all those months ago, so maybe this belated blog post will be more valuable than it would have been delivered in a more punctual fashion.


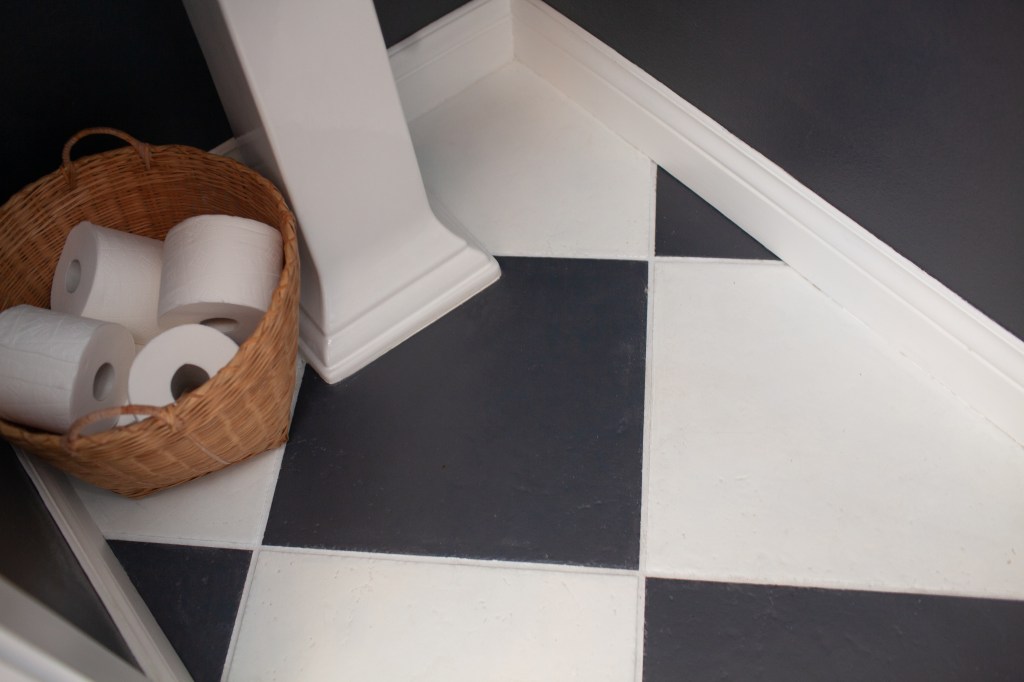


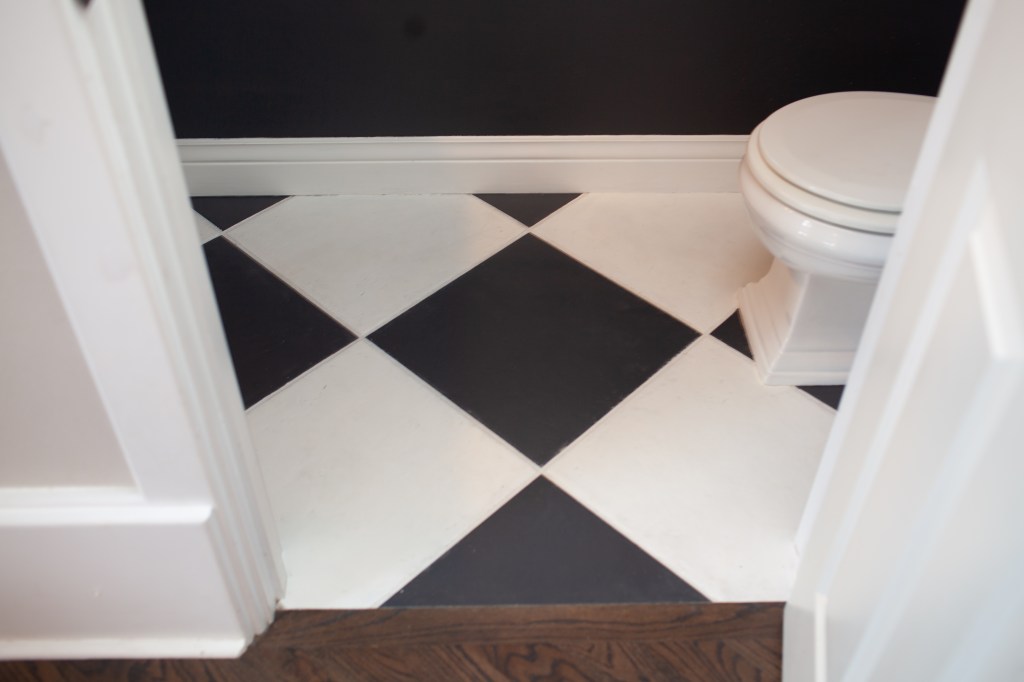

First things first, I was inspired by the stone checkerboard floors in Chris Loves Julia’s dining room. I’ve scrutinized and have considered painting (and perhaps stenciling a pattern) onto the large blah-brown tiles in our powder bath for many years, but it was our floor’s potential to look good in a diamond checkered pattern that gave me the push I needed to take the risk and paint them. And, of course, I took this risk to a whole new level when I disregarded any tutorials calling for a specialized type of tile paint. Instead, I used leftover black and white Benjamin Moore Advance paint I had laying around. I decided that if I was priming the tile anyway, it didn’t matter what type of paint I chose to use, and spoiler alert, it’s been four months since I finished this project, and I pretty much feel the same way!
Here’s How to Paint Ugly Tile Floors in a Checkered Pattern:


- Clean the area really well by sanding the dirt off and wiping it all down with Krud Kutter.
- Tape off the baseboards, toilet and sink area and put several coats of 1-2-3 Bull’s Eye Zinnser Primer on the the tile and grout. I applied the paint with a roller for most of it and used a paintbrush around the edges of the room and the tiles themselves.
- Let the primer dry and cure for several days, maybe even a week. Nobody should walk on it during this time.
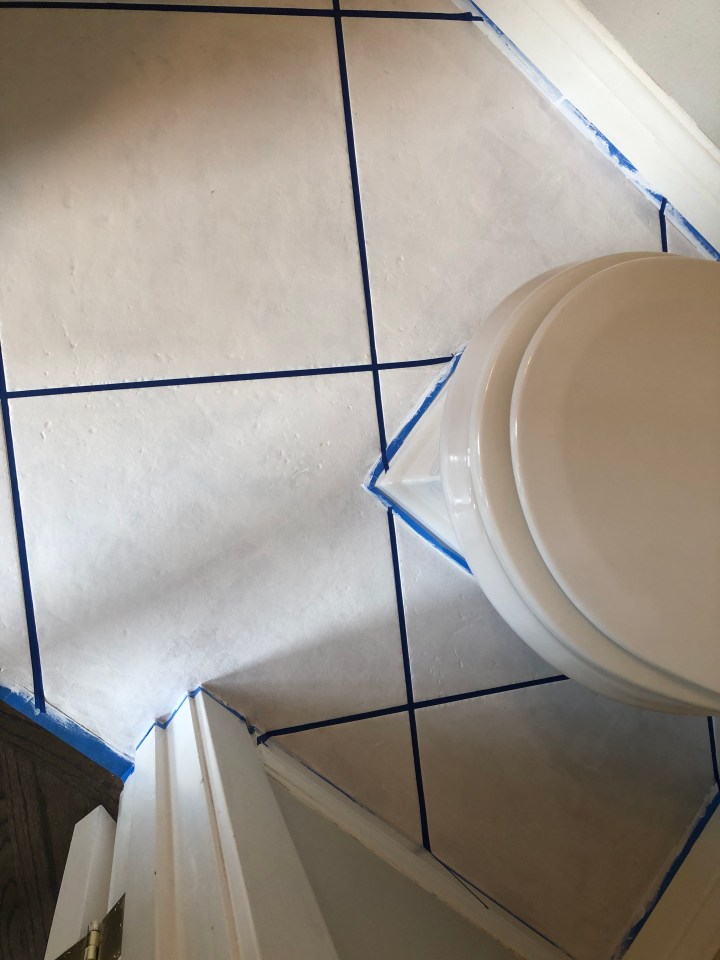
- Place painters tape inside all of the the grout lines. (I used ¼ inch tape.)
- Paint your base color (I used Benjamin Moore Advance paint in Chantilly Lace) over both the primer and the painter’s tape in the grout lines. I can’t recommend this step enough because it will leave your lines extra crisp and clean when you pull the tape off!
- Next, put the second color of paint on every other tile. I used Benjamin Moore’s Advance paint in Black Ink.
- Paint several more coats of both the white and black paint onto your tiles and let it dry/cure for several days.
- Pull off all of the grout tape and admire how crisp your lines are!
- Lastly, touch up any places that need it! Besides the acrobatics required to paint in such a tight space, this part probably took the most patience and precision.
- Put some sort of sealant on your floors. (I still need to do this final step–oops.)
I seriously considered putting a polyeurethane finish on the floors to protect them, but I’m always slow to put any permanent finish on painting projects because I want to make sure that I both really love it and that it looks perfect. However, I’m notorious for never getting around to final measures such as these. The good news is that I’m thinking about going in and touching everything up one last time and putting that final finishing coat on the floors because all these months later, I’m still very much in love with them and think they’re holding up just fine. I do have a chip or two, but I think touching up the chips and sealing off the floors will prevent me from running into that problem again in the future. The checkers are here to stay!
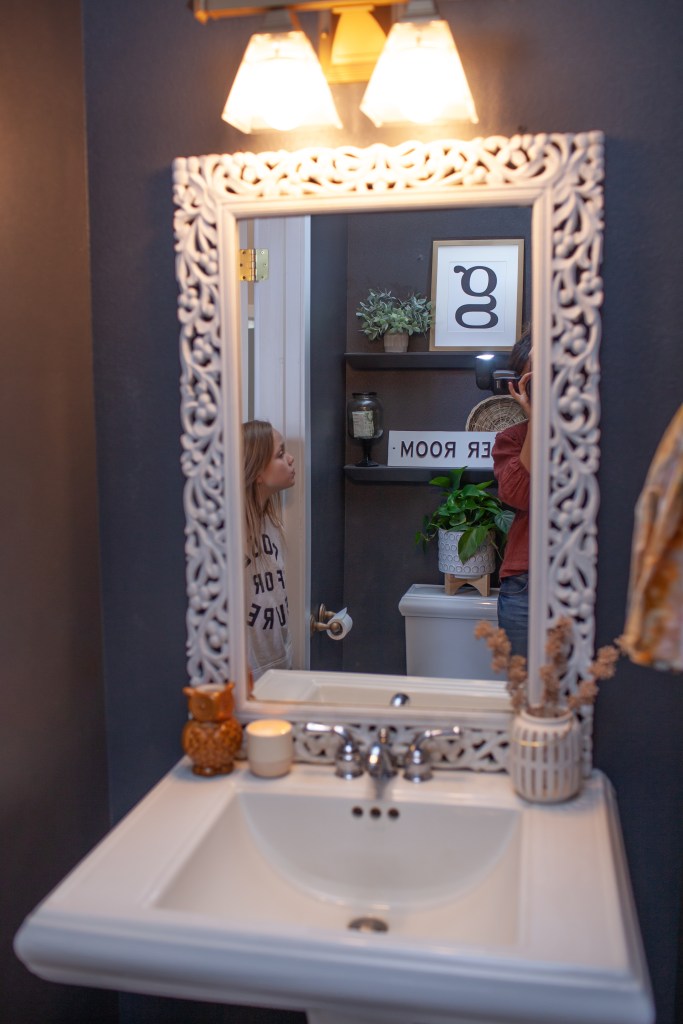
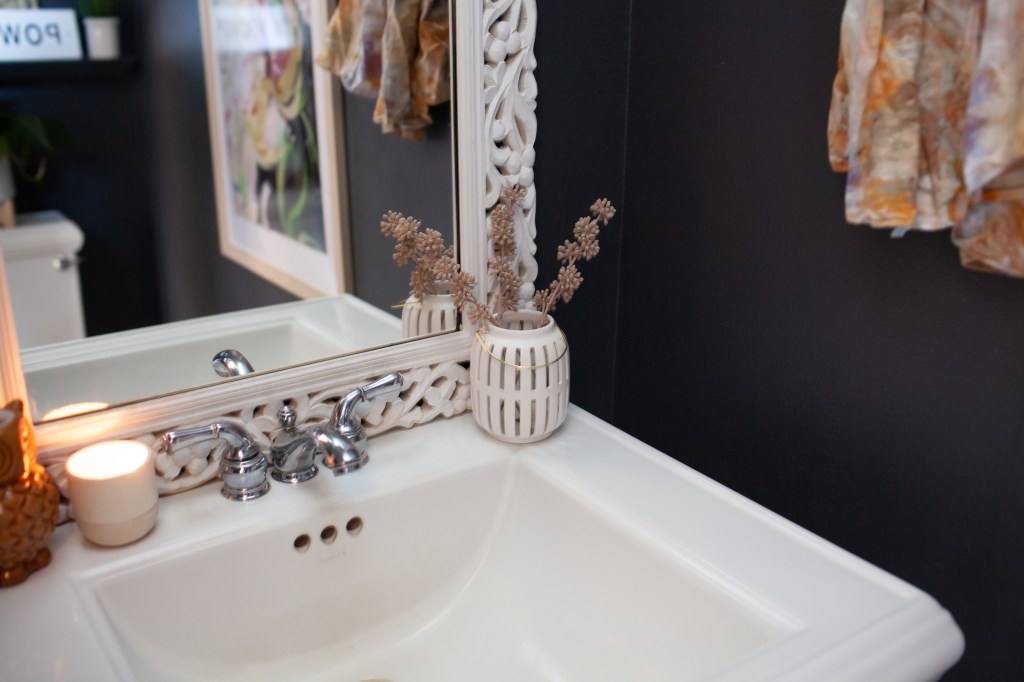
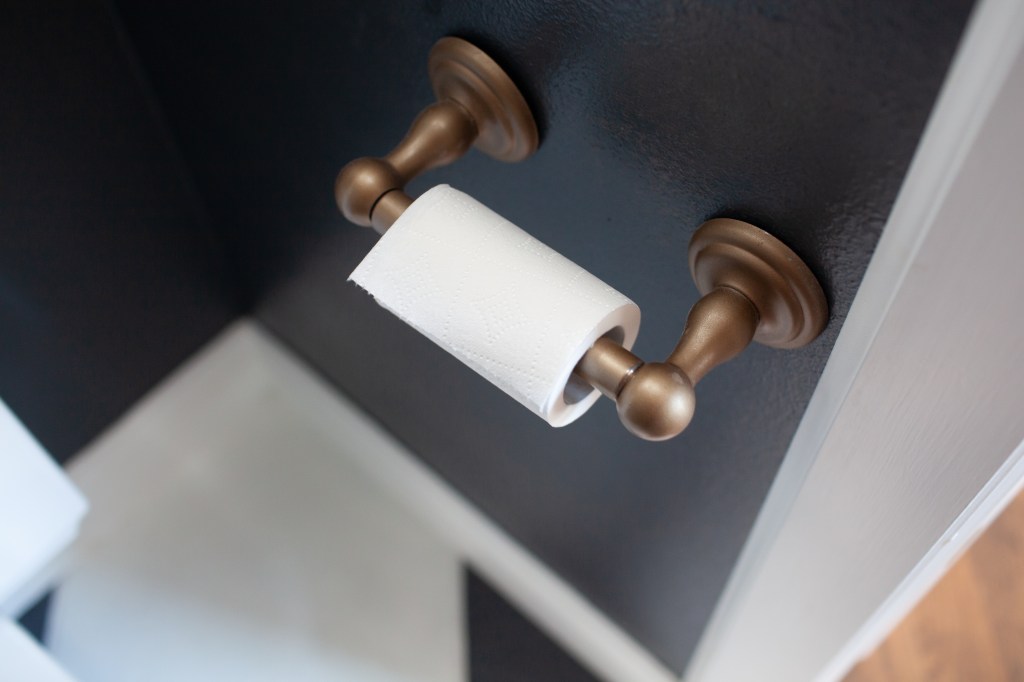
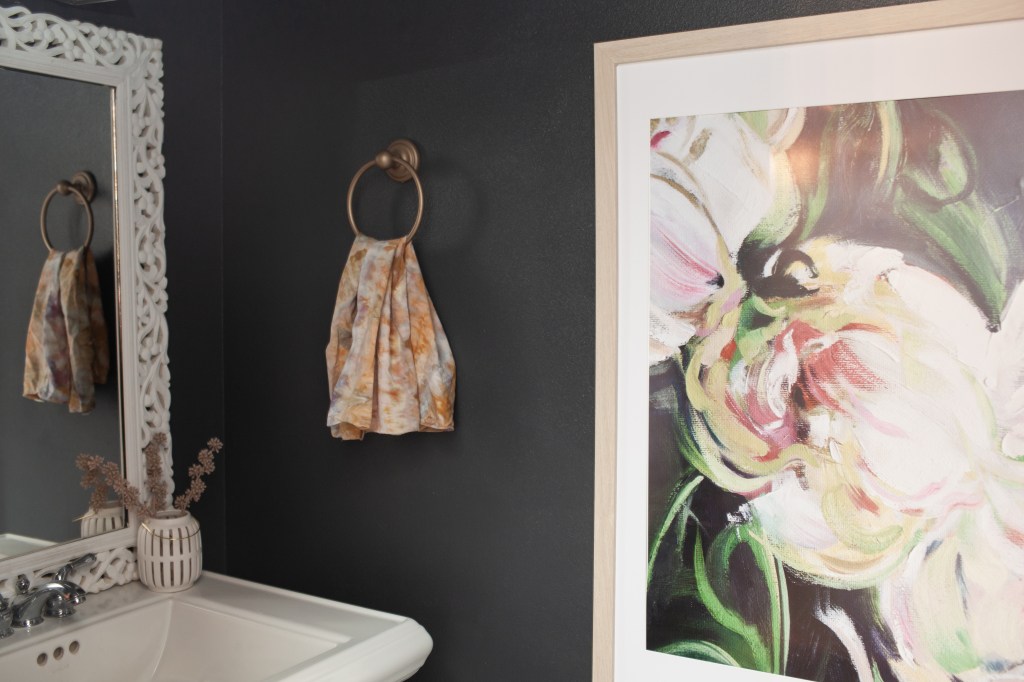
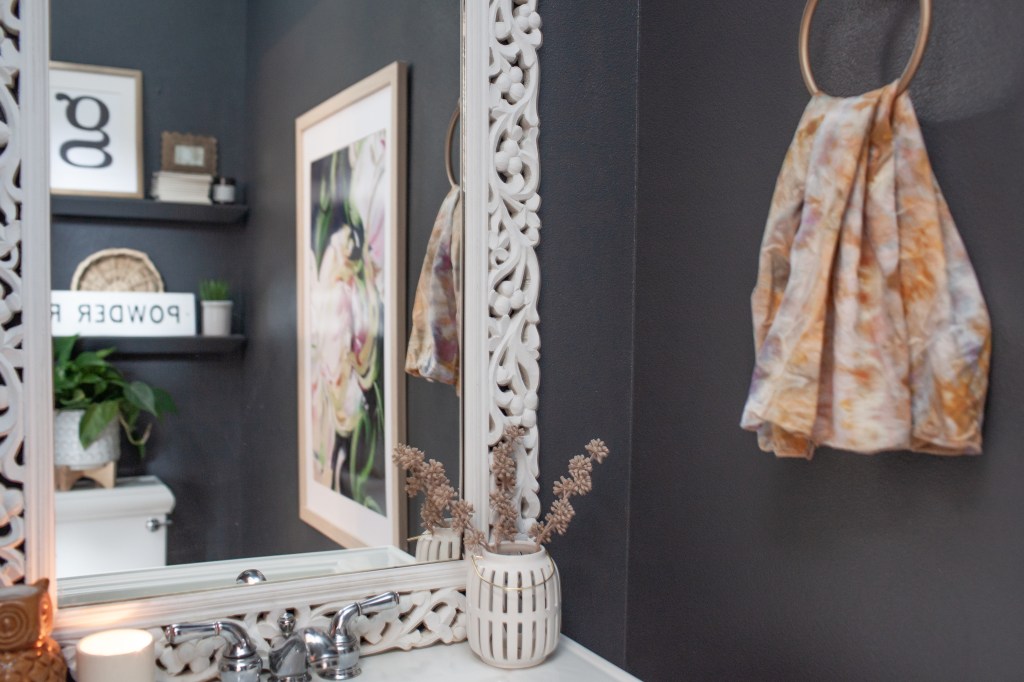
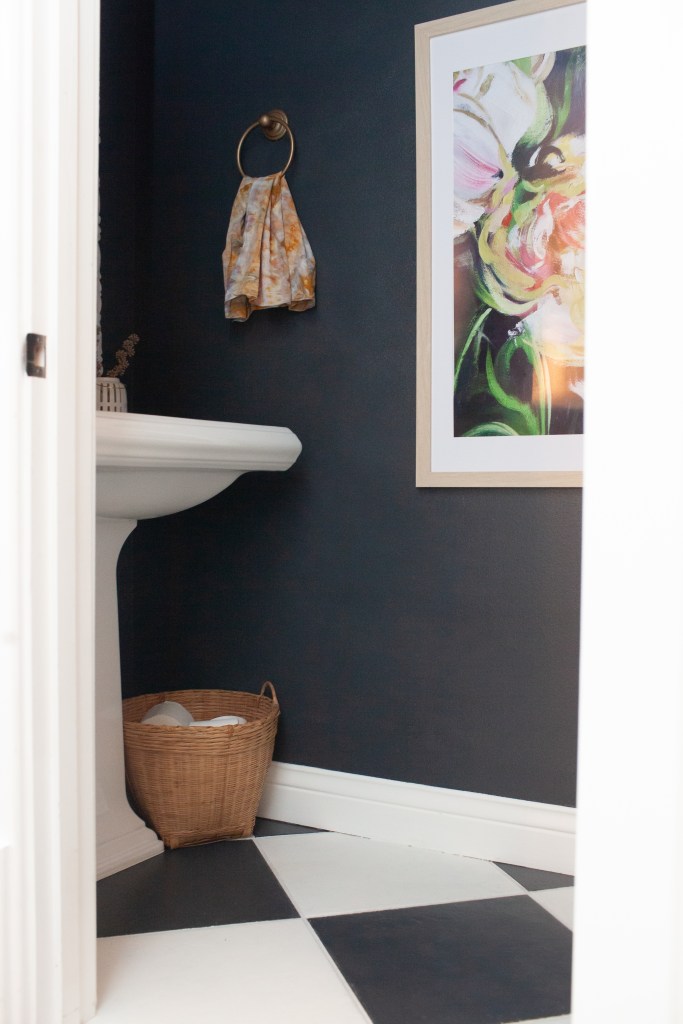
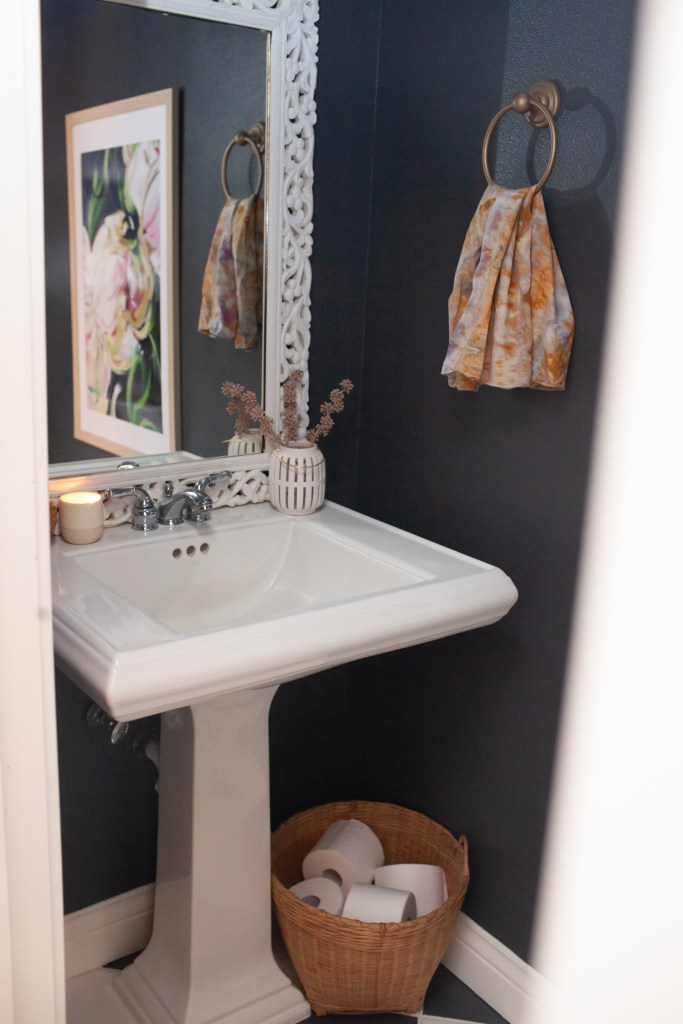
Also, the transformation on the floors inspired me so much, I couldn’t stop there. I went on to paint the walls of the entire bathroom that same Black Ink color by Benjamin Moore. I also dug up some old floating shelves from Ikea that I had stored away for a moment like this and painted them that same black, too. I hung them over the toilet for a floating shelf look. I also took down the light fixtures and toilet paper holder and spray-painted them with “Rust-oleum Metallic Paint and Primer in One” in the Satin Bronze color. The gold accents against all the black elevated the look of the bathroom even more.
Next, I enjoyed decorating the shelves. Again, I tried to do this with things I already had. This step proved harder for me than I expected, but after weeks of tinkering with different decor, I finally landed on a look I’m really happy with!
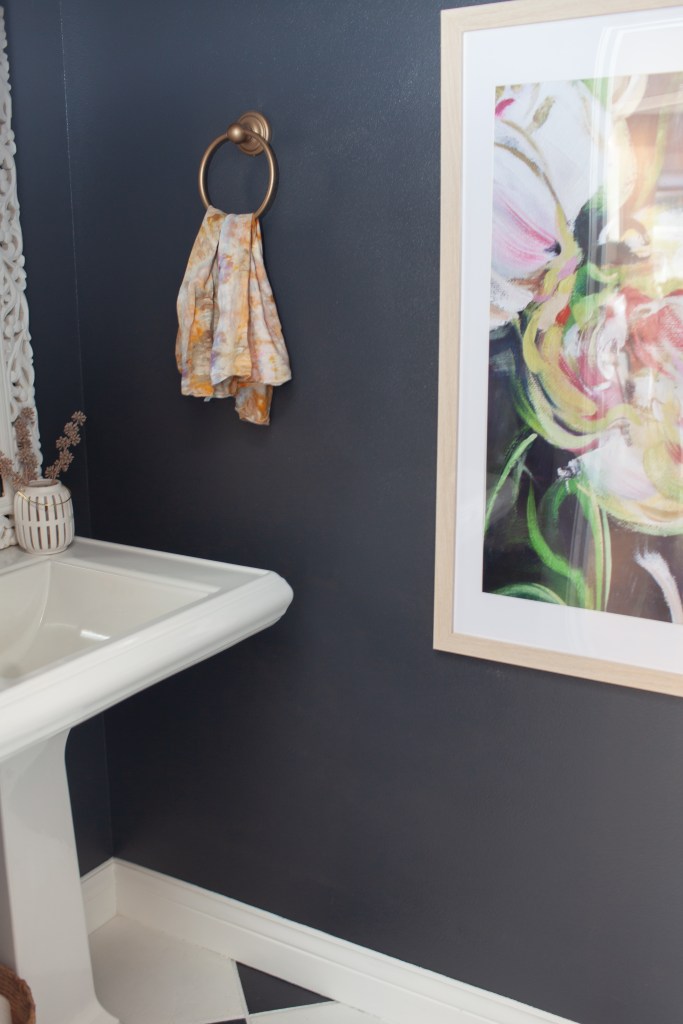
There was only one problem. From the outside of the bathroom peering in, the room looked like a big black hole, so I hung and oversized floral painting right in the middle of the open wall. The light oak wood framing the floral print really broke up all the black and warmed things up in there.
To wrap things up; was this project easy? Definitely. Was it more time consuming than I thought it would be? Absolutely, and in that sense, it was harder than I expected it to be. Would I do it again? Yes, I’m over-the-moon happy with my moody black powder bath! I’m glad I did it and would most definitely do it again.
Links to Supplies I Used:
1-2-3 Bull’s Eye Zinnser Primer
Rust-oleum Metallic Paint and Primer in One in Satin Bronze
Benjamin Moore Advance Paint (This is what I used, but isn’t really recommended for tile; If you’re wanting paint meant for tile, I hear Rust-Oleum Home Floor Coating is a great option!)

Leave a comment