
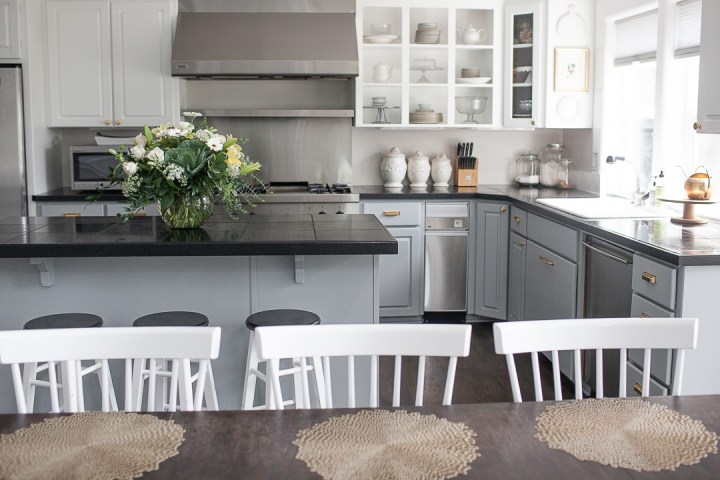
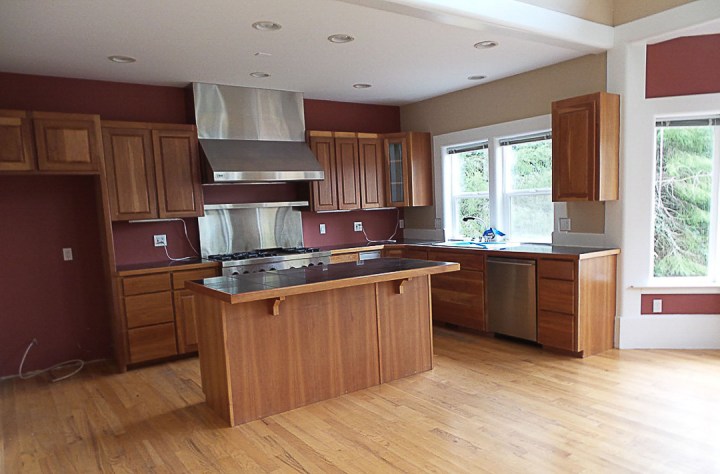
YES, you can and should paint your ugly cabinets! Below is what our kitchen looked like when we bought it.
And before this house, we owned our very first house (brand-new), and I remember my father-in-law offering to paint some accent walls for us. I didn’t even think to offer to help him back then because it was so far from my element! Come to think of it, to that point, I don’t think I’d painted anything outside of art class in grade school. I’d certainly never painted walls or furniture. But when we moved into our current home (built in 2000), the whole shebang needed painted; how could I not jump in?
Now, after four years of painting everything under the sun in this house–walls, furniture, doors, banisters, cabinets, dining room chairs (to include the cushions!), and filing cabinets, my paintbrushes are my most-valued makeover tool. Paint is the easiest and most affordable way to update your home, and I’m here to encourage you to just do it! Even if you have plans to gut your entire kitchen (or bathroom, for that matter) in a year, I still think it’d be worth it to paint the cabinets in the meantime.


Here’s why:
- Anyone can do this. I don’t know about you, and I try to do this from a place of creativity, gratitude and contentment😬, but I often dream about “somedays” for my house. “Someday, we’re going to get new countertops; someday we’ll add backsplash, wall treatments, wallpaper, rugs…” etc. But many of those somedays, for one reason or another, seem to be stuck in the “someday” category and might be forever! And perhaps painting cabinetry legitimately sits in that category for you, and that’s ok! But if the reason is because you don’t think you’re capable, I beg to differ! I truly believe anyone with a pair of hands and eyeballs can do this. Take it off your someday list. This is an update you probably don’t need to dream about any longer.
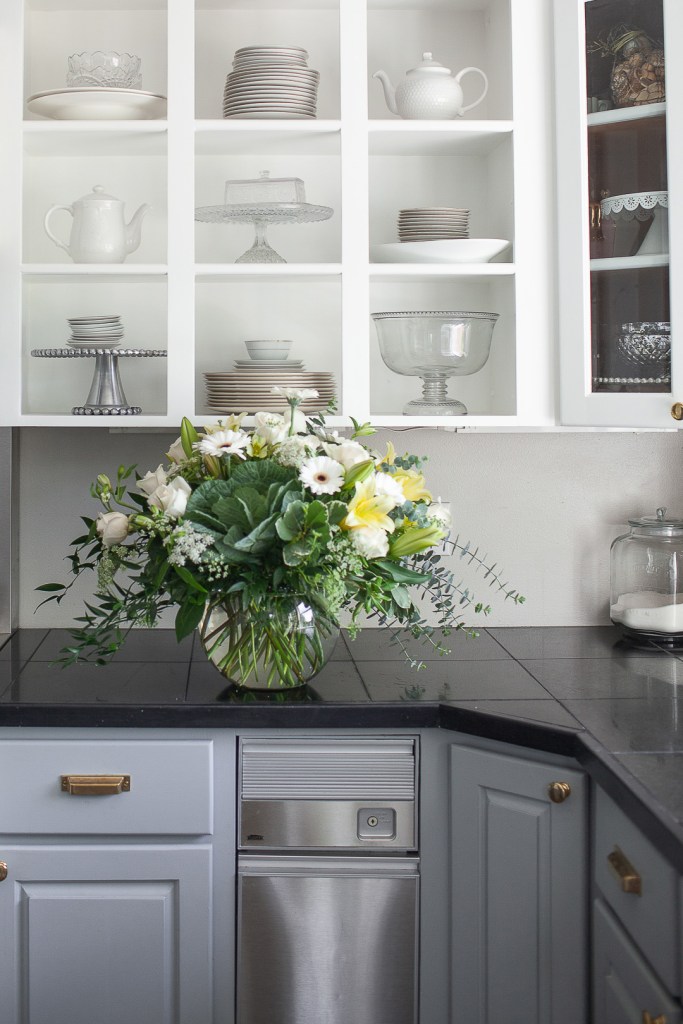
- It’s incredibly affordable. I painted our kitchen for less than $100. Depending on what you have on hand, you may only need to buy paint, in which case, it would put this project under $75, and that’s using top-of-the-line paint! By the way, the paint I’m obsessing over right now is Benjamin Moore’s Scuff X line. It costs about $60/gallon and worth every penny because it’s incredibly durable, adheres beautifully, and there’s hardly any wait time between coats.
- It’ll force you to organize all your kitchen cabinets. Cleaning out cupboards is rarely at the top of my list, so this was the perfect opportunity to get rid of unnecessary clutter. Not only did this project leave me with a freshly painted kitchen, it left me with a more organized one, too.
- Believe it or not, this can be a relatively quick project. If you use BM’s Scuff X paint, not only is it incredibly durable paint (made in particular for cabinets!), it dries so fast. By the time you’ve finished putting the first coat of paint on all of your cabinets, it’ll be time for the second coat! Also, it doesn’t take much prep work. I used to think you had to sand everything to death before you could paint it. Not true. With the right paint, all you need to do is clean the surface really well, and wipe it down with a liquid deglosser. Sometimes, if what I’m working with is in really bad shape, I’ll lightly sand it first, but that process just feels like I’m wiping the cabinet down with sandpaper–no big deal!
- You probably already have most of the supplies needed! Here’s what to gather: paint (obvi!), good quality paintbrush, roller, something to prop your cabinet doors up on (paper or plastic cups or bowls), liquid deglosser, and painter’s tape. Optional: sandpaper, Krud Kutter, tack cloth
Here’s How:
- Before I pull drawers out or take cabinets doors off, I label everything so I know exactly where it goes when it’s time to put things back together. For example, I’d jot “island top center” on a piece of masking tape and stick it inside the drawer before pulling them of their drawer slides. For the doors, I’d put the little label inside the space where the door hinge was, since it won’t need painted.
- After everything’s labeled, I give it all a deep clean. I take a sponge and dish soap and give them a good scrub over the sink. If it’s super dirty, then Krud Kutter to the rescue. Then, after I’ve dried everything off, and if I’m feeling like it, I rough up the wood with sandpaper. I wipe off all the dust from that (tack cloth is great for this!) and finally go over everything with liquid deglosser. This is a very thorough way to prep, but honestly, the more clean your surface, the better your final product. Oh, and don’t forget to tape off any areas you don’t want painted.
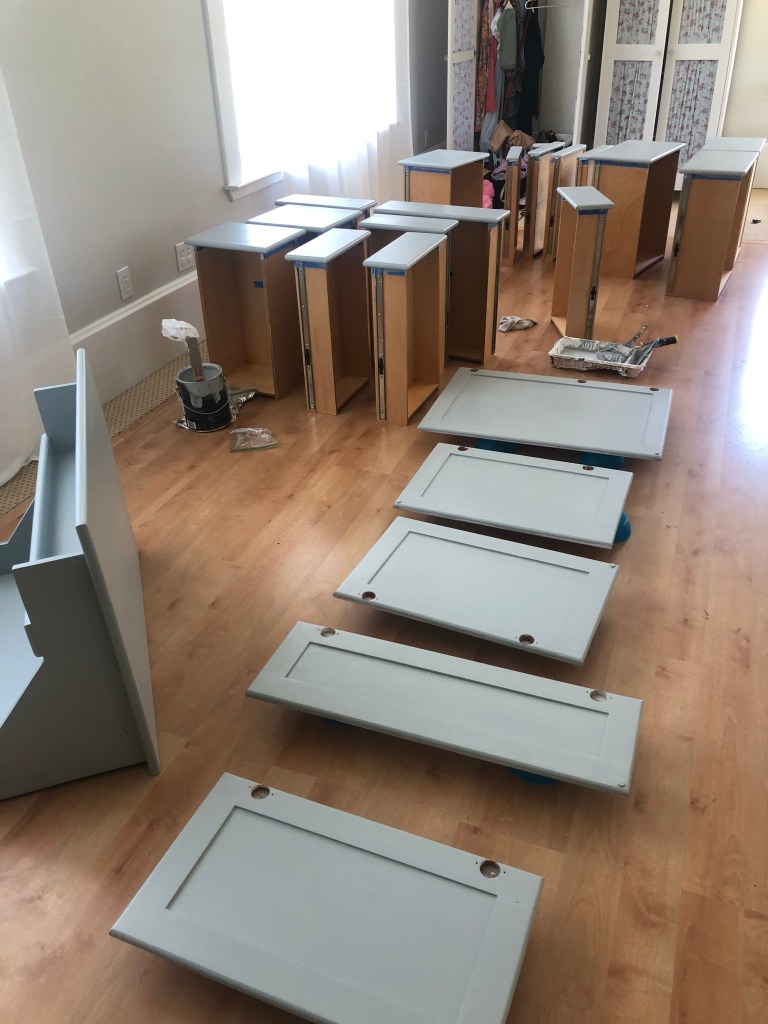
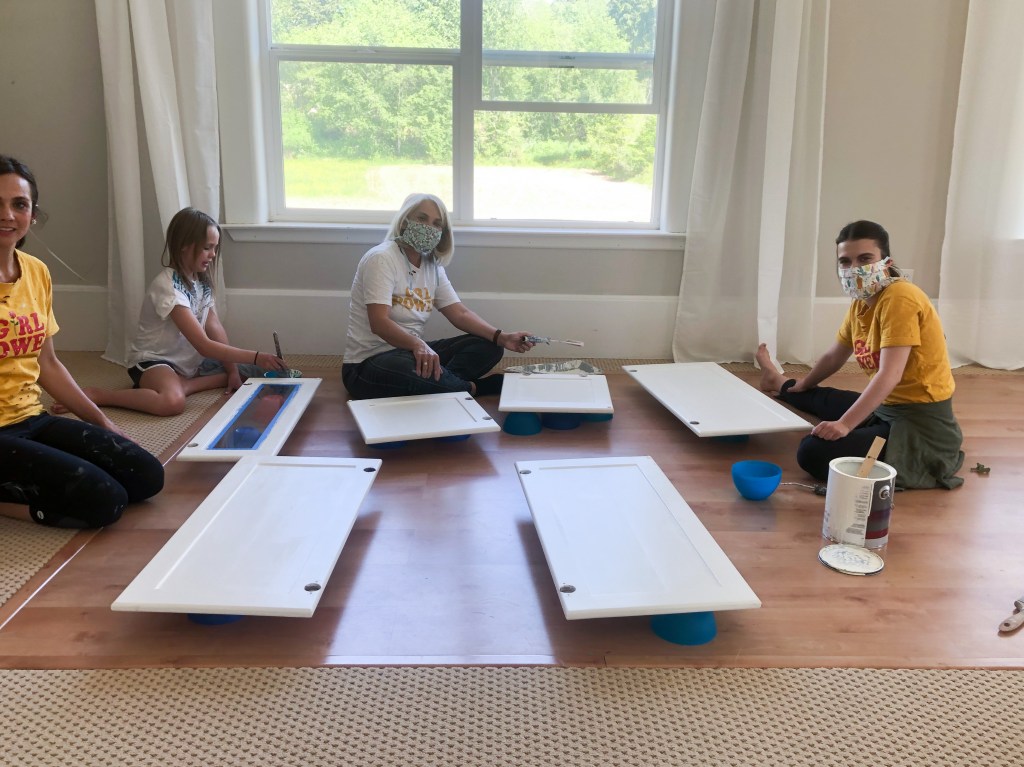
- Next, find an open area in your house that’s out of the way and preferably not on carpet. You could do this in your garage. Lately, I’ve been doing it upstairs in our family room where we have a big area with laminate flooring. Don’t do this project outside in the open. The wind will blow dust into your paint. Set up your cabinet doors on top of old plastic cups/bowls to get them off the floor. Make sure you’re painting the insides of your doors first, so backsides should be face up. I prop the drawers so they’re standing up, that way I can easily paint the face of them. I usually don’t paint the insides of the drawers (except the inside face), but you can if you want to.
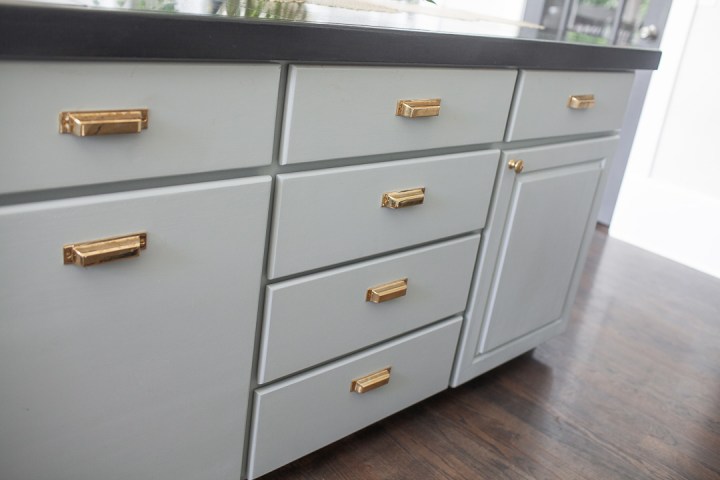
- Now it’s time to paint! I started painting the base frame of the cabinets first. I did the big areas with a roller and then went in with an angled paint brush to get in the nooks and crannies and smaller areas. The main idea is to paint in the direction of the wood’s grain and to make sure there are no drips! After that, I paint my drawers and cabinets. Remember, avoiding globs and drips is the most important thing. Depending on the paint you’re using, two coats should do the trick. Sometimes I do three for good measure.
- Lastly, after everything’s dry, it’s time to put the kitchen back together! It’s really as easy as that. Let me know if you go for it!
PS. Below are some visuals taken from my phone to help you visualize my set up. People tell me all the time that they’re thinking about painting their cabinetry, but they’re nervous they’ll mess it up. I promise you can do this!


Happy Painting!

Leave a comment